Watermelon Drawing
Nothing beats a cut of a sweet watermelon on a sweltering summer day! A chomp of a succulent watermelon invigorates whatever day and any day of the year. With its particular flavor and smell, watermelon is undoubtedly the most loved product of many individuals. Visit the watermelon drawing & cute drawings or other drawing ideas for every drawing lover.
In light of its unmistakable appearance and dynamic tones, many of our perusers have found watermelons exceptionally fascinating to draw. This has encouraged a tremendous interest in a free watermelon drawing instructional exercise. Presently, you’ve requested it, so we conveyed it.
In this way, we have made a bit-by-bit instructional exercise on the most proficient method to draw a watermelon, summed up in 9 fast and simple tasks. Likewise, every guidance accompanies a delineation to make it significantly more straightforward for you to follow the means individually.
Live it up, drawing a divine watermelon!
Stage 1 – watermelon drawing
Begin by drawing a triangle shape with a round base. This structures the layout of the state of the watermelon. As you can find in the representation, the framework of the watermelon could be more apparent. It is a mite erring on the left side, which is not a problem!
This leaves room for the watermelon elements, which we’ll draw later.
Stage 2 – Make the State of the Watermelon
Extend the state of the watermelon by making the aspects on its right side. Essentially define a corner-to-corner boundary with a bent line at the base lined up with the blueprint we attracted in the past step. Remember that the primary, the right side, and the base piece of the layout should have aspects, leaving out its left side level.
Stage 3 – Add the Components of the Watermelon
Draw a bend close to the edge of the bent line we drew beforehand. Remember to include a shifted square shape in the corner on the right side. This makes the deception of aspects, causing the watermelon to seem 3D and reasonable!
Stage 4 – Next, Draw the Watermelon’s Seeds
Add the seeds that dissipated all around the outer layer of the watermelon. The sources can be framed by drawing a minuscule standing oval shape with a sharp base edge. Continue to draw a similar shape on the watermelon until you arrive at the ideal measure of seeds. That implies you can make as numerous — or as few — seeds as you need!
Please make a point to leave out a sufficient room in the center for the watermelon’s facial highlights, which we’ll attract the accompanying advances.
Stage 5 – A while later, Draw the Left Eyebrow
Define a bent boundary on the left half of the centerpiece of the watermelon. This structures the curved left eyebrow.
Stage 6 – Complete the Watermelon’s Eyebrows
Rehash the last step on the contrary side of the watermelon’s “face.” This makes the right eyebrow of the watermelon, consequently finishing its pair of angled eyebrows. Attempt to make the eyebrows as uniform and adjusted as could be expected.
Stage 7 – Put a Wide Grin on the Watermelon
Draw a U-molded bend at the lower part of the watermelon’s “face”. Then, at that point, define a somewhat bent boundary right over the U-molded angle we drew recently. This cuts off the figure and finishes the tremendous smile of the watermelon.
Right now, the watermelon in your drawing ought to now look very cheerful!
Stage 8 – Next, Draw the Watermelon’s Left Eye
Draw an ideal circle shape right under the left eyebrow. This layout is the left eye of the watermelon. Then, at that point, draw a little circle and two jewel or star shapes inside the eye. Subsequently, conceal the natural look while leaving out the figures inside unshaded.
This makes a sensational “shimmering eyes” impact, making the watermelon look significantly more delightful!
Stage 9 – Finish the Watermelon’s The two Eyes
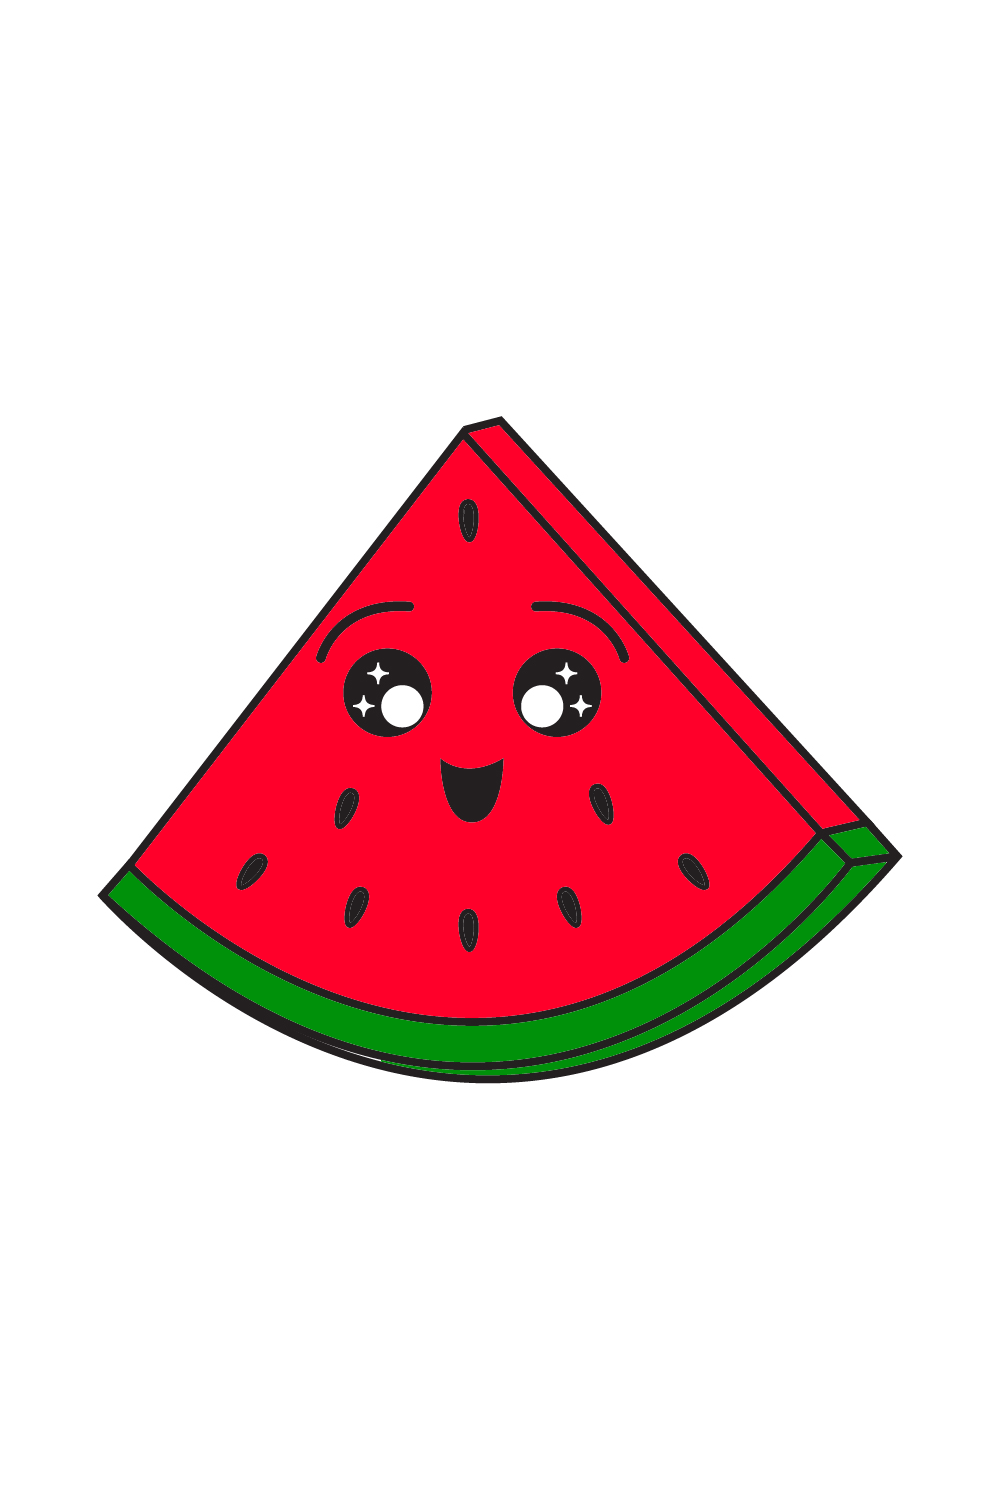
Rehash the past step under the unruly eyebrow to make the right eye. In the wake of completing this step, both the left and the right eye of the watermelon ought to now be finished! Also, that’s it — a cute, cheerful-looking piece of watermelon! All it’s missing is a sprinkle of varieties to make it beautiful! Envision how delightful this work of art would accompany active types!
Now that we’ve effectively drawn a watermelon, it’s at last time for the most intriguing part, which is shading the drawing! Make a move to grandstand your creative abilities, particularly your capacity to blend and match different varieties!
Watermelons have dull green skin and pink tissue within them. You can pick to variety the watermelon precisely the way they seem or utilize a one-of-a-kind arrangement of types!
We suggest doing the last option so you can additionally alter your fine art and make it dynamic!
Also Read Eurasian news