How to draw a Pumpkin. Many kinds of fruits, vegetables, and plants on the earth arrive in different shapes, sizes, and colors. Some are large, some are small, and some, like the pumpkin, seem to dominate everything else! Pumpkins stand out for their big and bold appearance and are still recognizable because they are used as Jack-O-Lanterns on Halloween each year. If you are a pumpkin lover of lanterns, you may have wondered how you can remember to draw a pumpkin, but I need to figure out where to start. They also constitute an excellent image for coloring once designed because they come in bright, bold orange colors.
We created this fun and fun guide on how to draw a pumpkin in 6 easy steps to show that it doesn’t have to be hard! If you follow the steps of this guide, you will draw amazing pumpkins in a short time. You can draw many more characters like bow and arrow drawing, Anubis drawing, betta fish drawing, cobra drawing, blueberry drawing, coconut drawing and many more cool drawings easy.
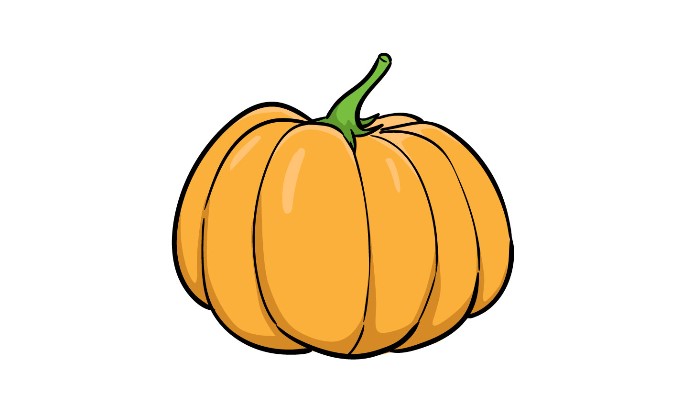
Drawing of Pumpkin
Step 1:
To start the learning process of drawing a pumpkin, you should first draw an oval shape using a pencil. We use a pencil because it will be a guide to draw on the rest of the pumpkin, and you will erase the pencil a little later. You can use a tool like a drawing compass to do the oval, but if you do it by hand, it will be fine if the oval could be better.
Step 2:
Now that we have pumpkin as a guide, we can start drawing at the beginning of the pumpkin design. Using your oval pencil and reference image as a guide, you can start drawing on the pumpkin contour using curved lines. It must be much easier to do if you start right to the right and copy the lines you see in the figure closely when drawing. This part can take a little practice, so you can always use a light pencil to draw in the contours and then pass them on the other hand when you are satisfied with your appearance.
Step 3:
Once satisfied with what you designed in step 2, you can navigate the pumpkin outline on a darker pen or pencil if a lighter pencil is used. After drawing it, you can erase the oval guide of step 1 because we will no longer have it. Before erasing, make sure the ink for the rest of the drawing is dry if you have used a pen. If you go out too early, you can stain wet paint. For this reason, patience is the key at this stage!
Step 4:
Now that the contour of the pumpkin design is finished, you can add the pumpkin rod. As seen in the reference image, you can draw this aspect with curved and pointed lines. If you follow the image closely, you can reproduce the shape of the rod to adapt well to the pumpkin top. You can also change the shape and position of the rod a little as you understand to give your most exclusive pumpkin design.
Step 5:

At this point, your pumpkin design is almost finished! All that remains is to add certain lines to show the pumpkin sections. Using the stitches inside the pumpkin contour, carefully draw a line from the upper point to the corresponding lower point. As you can see in the reference image, they should not necessarily be complete lines, and some may take a break in the middle. If you ensure that the lines correspond correctly, your pumpkin will be completed quickly!
Step 6:

Now that your drawing has ended, you managed to draw a pumpkin! There is one more step, however, and it’s fun! It’s time to let your creativity flow when you put your amazing pumpkin drawing. There are many ways to seek it, and you should let your creativity be triggered! You can color an animated and beautiful orange in the pumpkin, but you can also use your favorite bright colors for a more stylistic image.
Another funny touch you could add would be to draw on a flashlight and color it so that it may seem that the candles are illuminated inside the pumpkin. There are also a wide variety of artistic tools, such as acrylic paintings, watercolors, pens, and colored pencils, to name a few! You can use your favorite art brackets to have a variety of almost unlimited color styles for your drawing.
Make your pumpkin drawing unique.
Make your pumpkin even better with these 4 practical and fun tips! At the beginning of the guide, we explain how pumpkins are closely associated with Halloween and that you can draw a Jack O flashlight face. If you opt for this Halloween theme, you can make this pumpkin sketch even more frightening by doing an entire scene! You can make a background with scary bats, skeletons, and any other decoration you associate with the season.
What could you add more to turn it into a scary Halloween work? We have created an entire pumpkin in this guide, but you can also delete pieces for a more interesting display. When pulling a large edge out of the pumpkin, we would also see the bowels and seeds inside. If you need a pumpkin to cut, we are sure you can find pumpkin on -line photos that have been opened.
pumpkin drawing
It would be a great way to make the drawing of a pumpkin more exclusive, but what other modifications could you make? Pumpkins are known for their beautiful orange color, and we recommend it doing so at the beginning of the guide.
It sounds amazing, but you don’t necessarily have to keep these colors realistic! If you wanted to make each segment a different bright color, it would look cool. It all depends on you; you can decide what look you want for this beautiful pumpkin. We cover the creation of a Halloween scene earlier, but you can also create a much less scary background! This pumpkin drawing would also look great if you created a garden scene, for example. That way, you could also draw other fun vegetables next to it and add plants and flowers. A garden would be a scene you could create, but we are sure you can also think of many other background ideas! What other scenes can you think of?
Your pumpkin drawing is complete!
We hope this guide on how to draw a pumpkin was not only useful but also fun to use! Drawing a pumpkin probably seemed to be a very difficult task at first because of its unusual form and proportions, but if you follow the steps of this guide, it doesn’t have to be difficult! Drawing can certainly provide challenges to be overcome, but it decomposes in manageable sections with a guide like this can make it much easier. However, the trip continued when you finished your drawing because there were several ways to put your rotation in the pumpkin drawing!
You can add different backgrounds, use different art supports or add an item as a Jack-O-Lantern side. We can barely wait to see how you give life to your drawings! Let’s download many new drawing guides like this, so consult our site often never to lose pleasure!
Also Read: How to draw an ice cube